Here’s what you need to know to get the best results from your 3D printing service.
Here we present our top five tips for you to get more of what you want from your chosen 3D printing service.
Save yourself money by being better informed!
What material should I choose?
90% of the ‘things’ you need to be printed will be fine with PLA. (eco-friendly, made from corn starch).
If you need extra strength or something that is waterproof, then ABS or PETG would be more suitable.
If you need something flexible, then of course TPU.
If you want to use ‘Carbon Fiber’, it may help to understand it’s not the same CF as in shiny car parts or whatever as that is a matting impregnated by resin. However is it very lightweight.
The use of speciality materials should be discussed with your printing service provider.
How much infill is enough?
Less than you might think!
To print a 10cm cube using a standard 0.4mm nozzle and the Cura slicer with a ‘grid’ infill, the infill density and ‘line distance’ (distance between the infill lines) will be as follows:
10% = 8mm
20% = 4mm
30% = 1.33mm
40% = 1mm
50% = 0.8mm
60% = 0.66mm
70% = 0.57mm
80% = 0.5mm
90% = 0.44mm
100% = 0.4mm
What this means for you, is that an infill setting of over 50% is essentially solid.
So you’ll just be paying for more material without any benefit.
Because of the way FDM printing works, if you want a stronger object, then ask for more ‘shells’, as it’s the outer ‘shell’ that determines the strength.
So how many shells should I ask for?
“Normally” 2-3 should be enough – This is the default setting for the Cura slicer, so you shouldn’t need to worry.
Only if your item needs to be really-really strong (as in not twisting under load for example) or will be held by screws would you need to ask for up to 10.
Please discuss this with your printing service provider.
How can I get the best results for my miniatures or other very-detailed models?
The two main types of 3D printers are FDM and Resin.
FDM (Fused Deposition Modelling or ‘Filament’) printers – These work by pushing the ‘hot plastic string’ through a very small hole and build the items up in layers.
Anything that’s made up of geometric shapes usually comes out really well.
Fine details can be lost if they are not oriented to the Z-axis, as that has the finest positioning control.
The build plate is the base and the models are printed upwards.
Resin printers – These use either a laser or an LCD/LED screen to expose UV curable resin layer-by-layer.
This makes them much more suitable for models that require a high amount of detail or have very small features you wish to retain.
The build plate sits above the resin tray and moves upwards as the model progresses, thereby printing the models upside down.
How big can my models be?
For FDM printers, a typical build size would be 15-20cm cubed. Although some can reach 40 or even 50cm cubed.
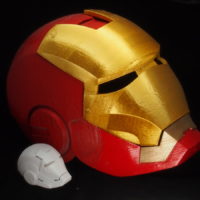
However, printing something like an Iron Man or Mandalorian helmet in once piece will typically take a couple of days.
For Resin printers, typically the build size will be around 115*65*165mm.
However, because of the printing method, multiple models can be printed at the same time with no loss of speed.
The larger reasonably-affordable models such as the Phrozen Transform are capable of a build size of up to 292*165*400mm
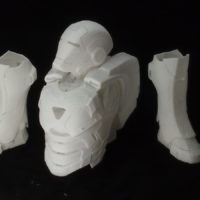
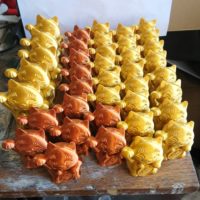
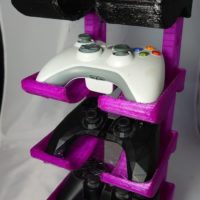
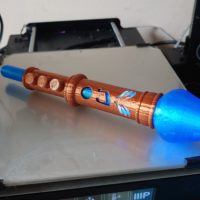
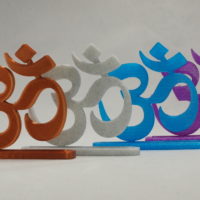
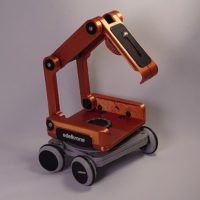
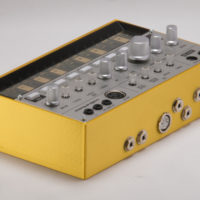
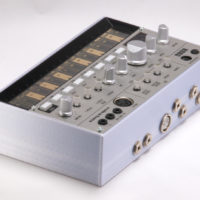
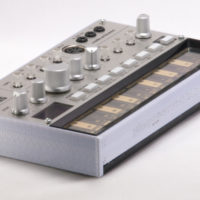
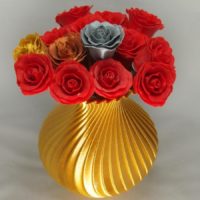
Examples of 3D printed items we have produced – click for full-sized images
